How to use Hyper-V virtual machine in Virtualbox on Windows 11?
Export Hyper-v virtual machine to VirtualBox
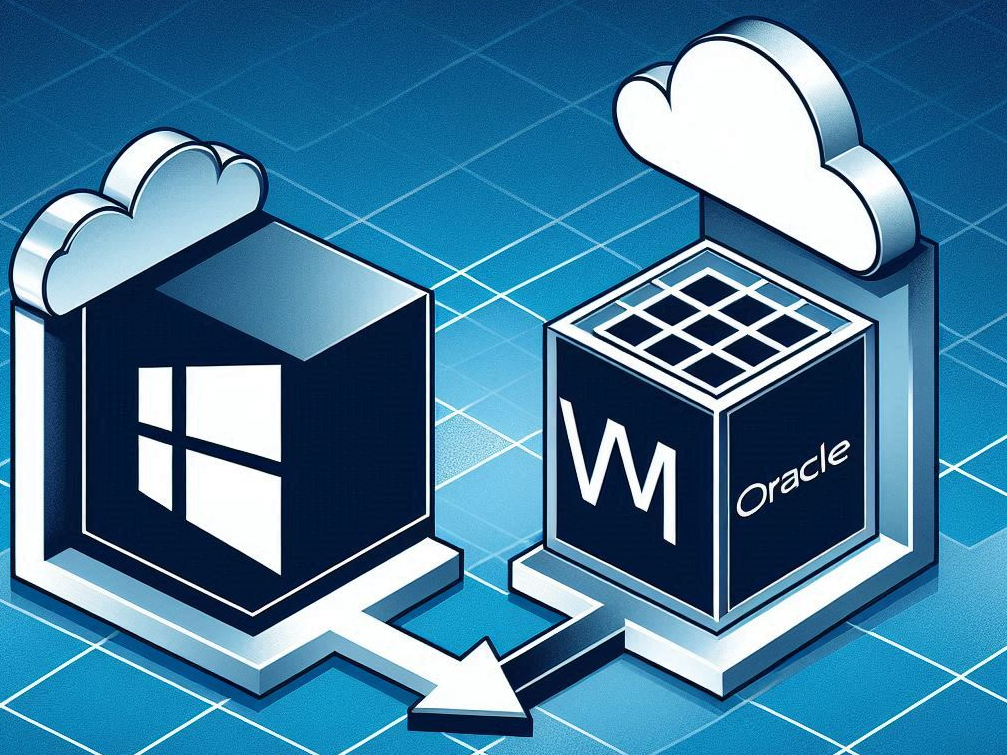
You created a virtual machine on Hyper-V but due to some reason, you want to move to VirtualBox.
Hyper-V supports VHDX file format whereas VirtualBox supports VDI and VHD. So the first thing we have to export the Virtual Machine on Hyper-V which will be in VHDX format then convert the exported virtual disk to VDI/VHD format. Finally, start using the converted VDI/VHD file on VirtualBox.
1. Export the Virtual Machine on Hyper-V
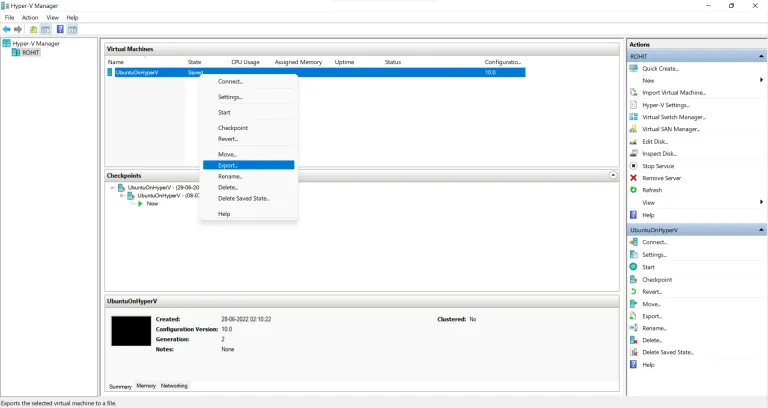
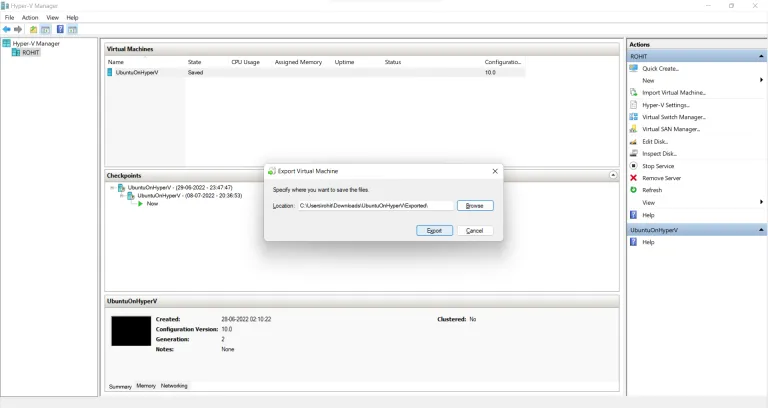
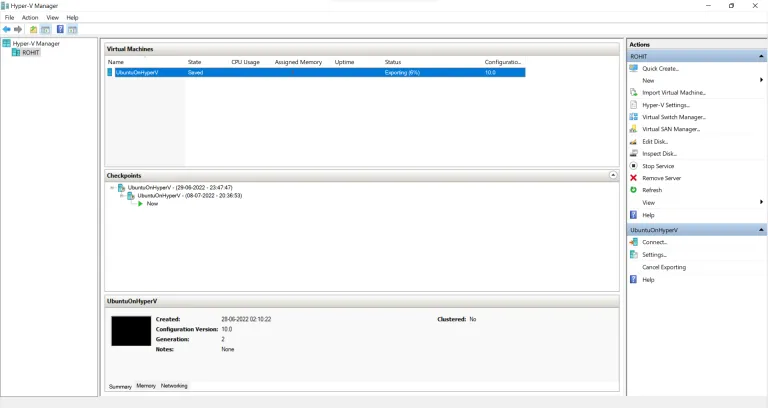
2. Convert the virtual disk formatted from VHDX to VDI.
If you have already installed VirtualBox on your PC then go to the installed path. Usually, the default path of software can be on “C:\Program Files\Oracle\VirtualBox”. Open that path in the windows command prompt/terminal and run the below command –
VBoxManage.exe clonemedium disk "<Path of the exported VHDX file>" "<Path of generating VDI file>.vdi"
3. Create a new Virtual Machine on VirtualBox.
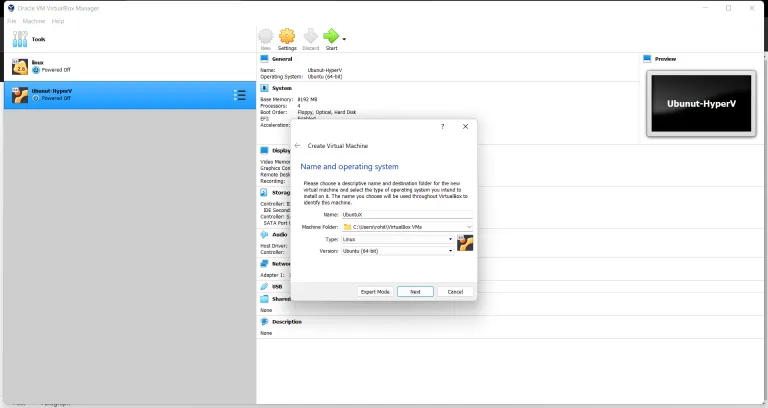
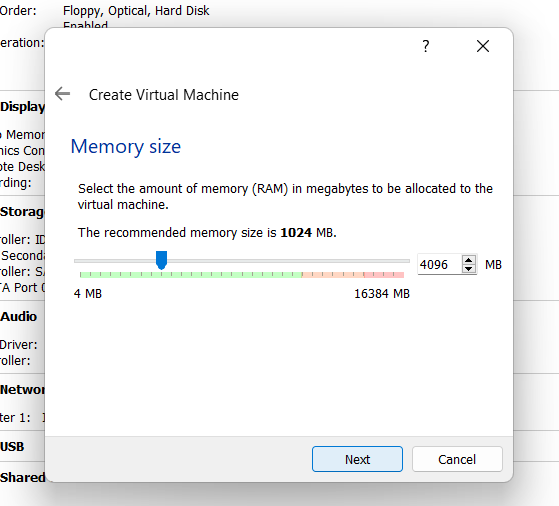
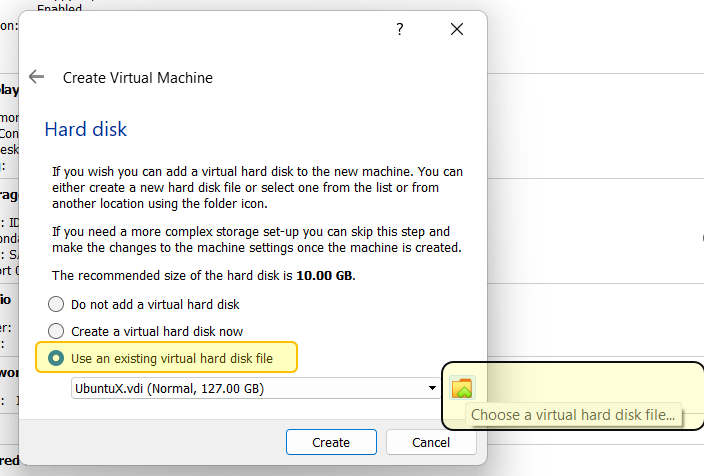
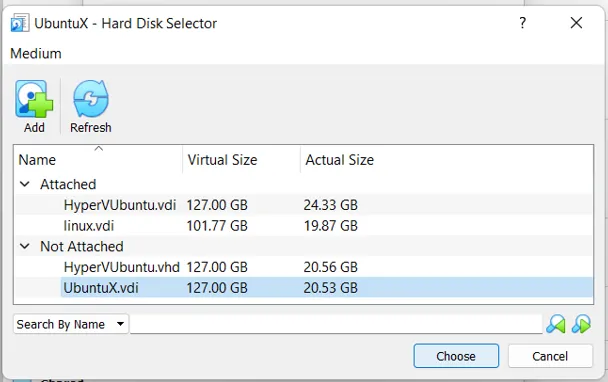
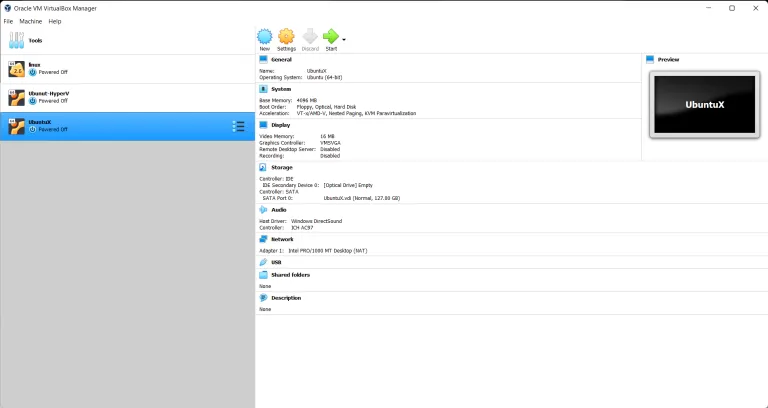
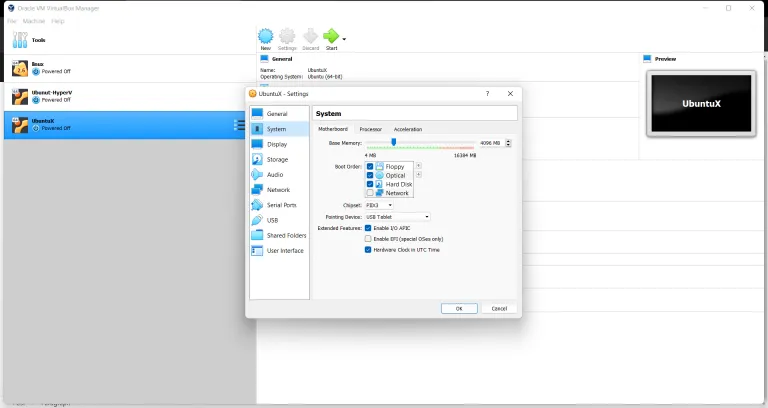
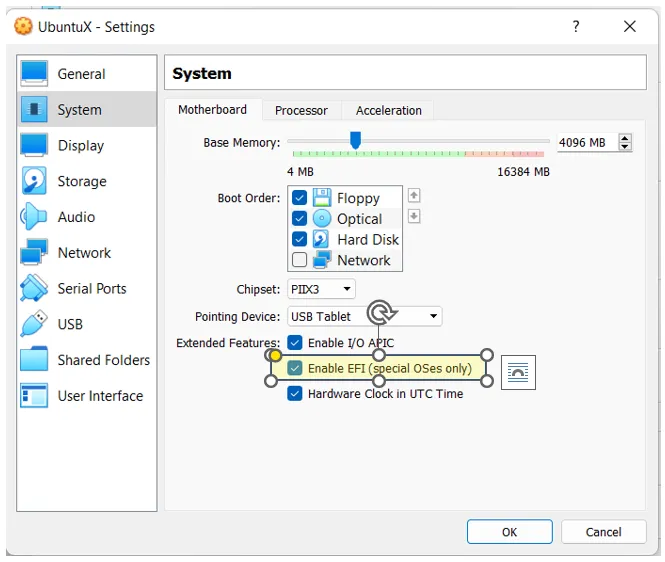
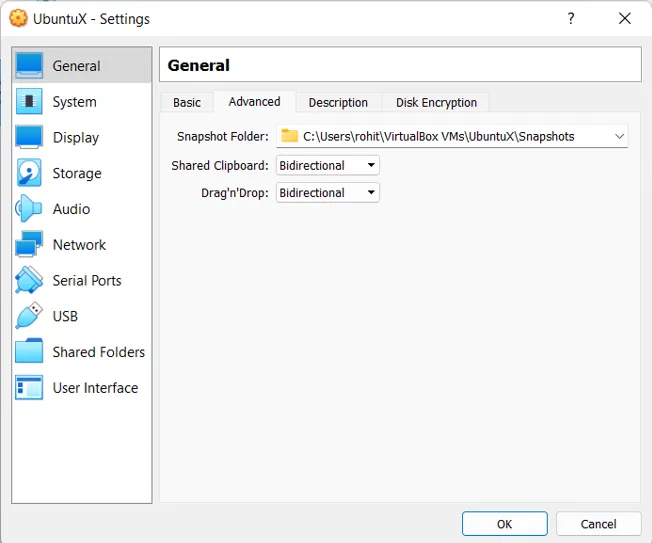
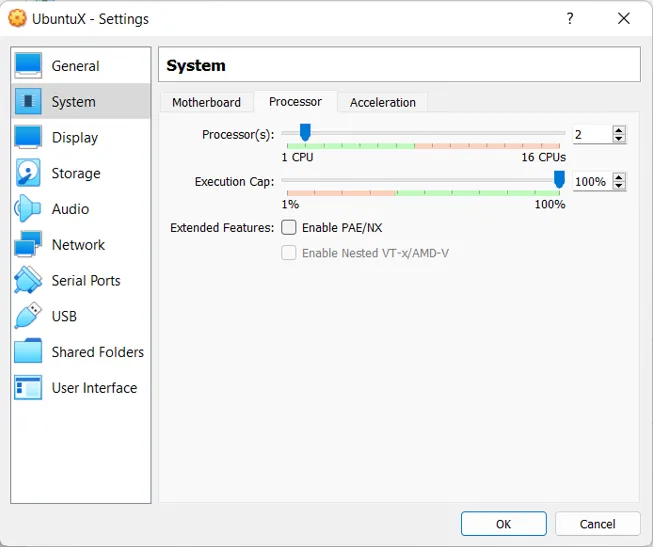
Press the OK button then start the VM. Ideally, VM should boot and work as if it was working on a Hyper-V machine. You may have to change the display setting once you start running VM.
Important errors to know –
Though there is a debate where it says VirtualBox does support VHDX as well when I tried, it didn’t work for me, and ended up getting the below error.
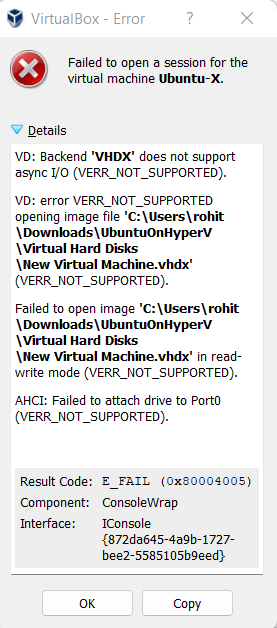
VHDX does not support async I/O (VERR_NOT_SUPPORTED)
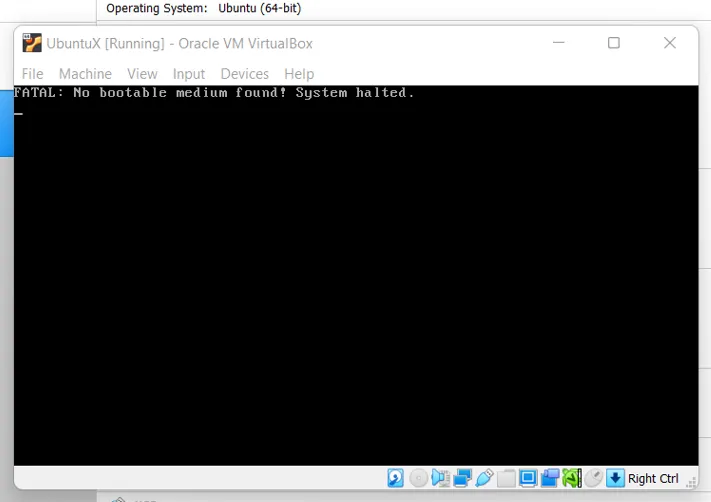
If you try without enabling the EFI mode on Virtual Box but the Hyper-V machine had it enabled then you may see
“FATAL: No bootable medium found! System halted”
