Installing Rocky Linux 8 for the first time on VirtualBox.
How to install RockyLinux 8 for the first time.

Updates and releases of CentOS Linux 8 were discontinued on December 31, 2021, and will be discontinued for CentOS Linux 7 on June 30, 2024, and if you are working on a CentOs-based system and exploring other RedHat family-based OS then you have one of the options to try Rocky Linux.
Before jumping to a conclusion you can try once the Rocky8 on Virtual Machine.
Here, you can find the steps to try Rocky8 to try on VirtualBox and address a couple of issues during the installation.
Download the Oracle VirtualBox ( Download VirtualBox – https://www.virtualbox.org/wiki/Downloads)
Download the Rocky Linux. Recommended Version is 8.6 or greater (Download Rocky Linux: https://rockylinux.org/download/)
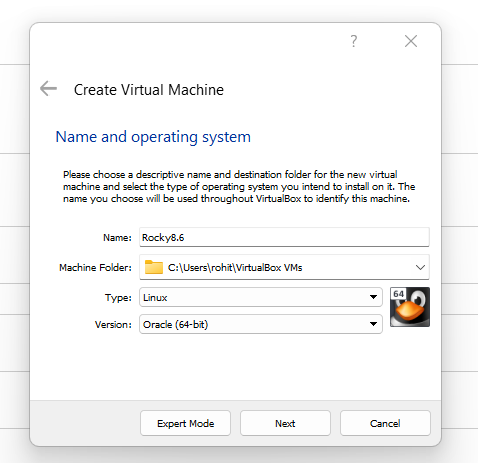
After downloading the above two and post-installing the VirtualBox. Open the VirtualBox and select the new button.
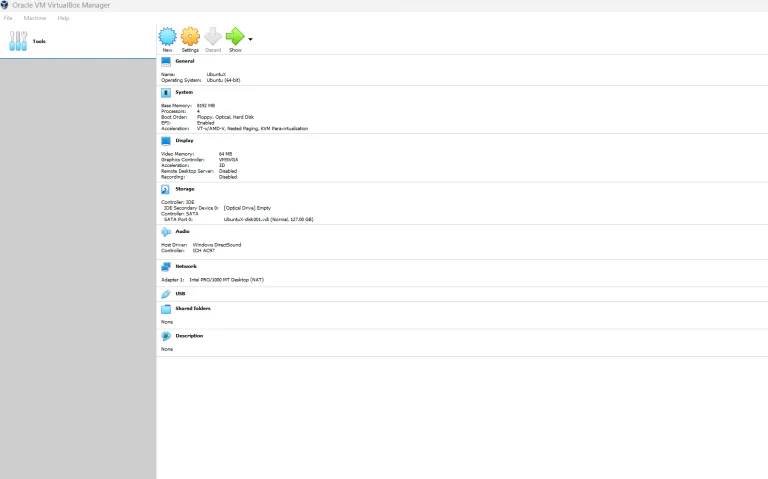
In create Virtual Machine section, add the name of the Virtual Machine for example Rocky8.6 and change the Type to Linux.
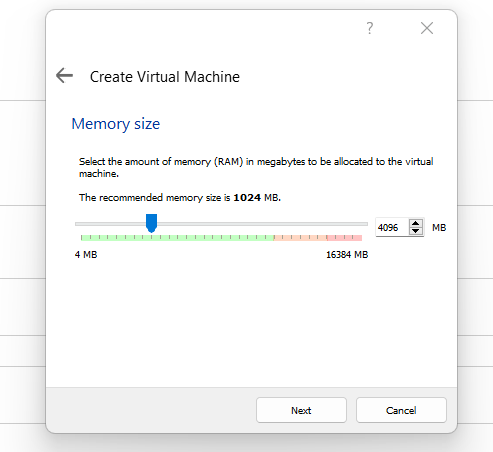
Select next then configure the Virtual Machine selecting RAM size, Disk size, Number of cores in the processor, and other UI settings. Increase the RAM size to 4096 i.e 4GB
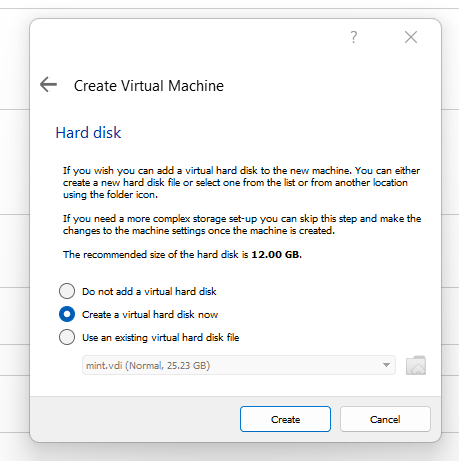
Add a disk to the virtual machine and create. You can add the disk size of 25 GB or more. Follow slighshow screen if you want the see the screenshots.
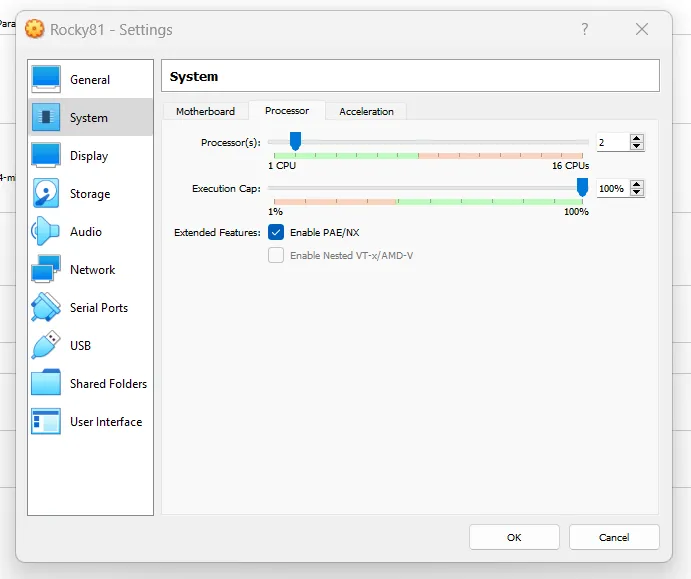
After creating the virtual machine, you can increase the number of processors. Make it at least 2.
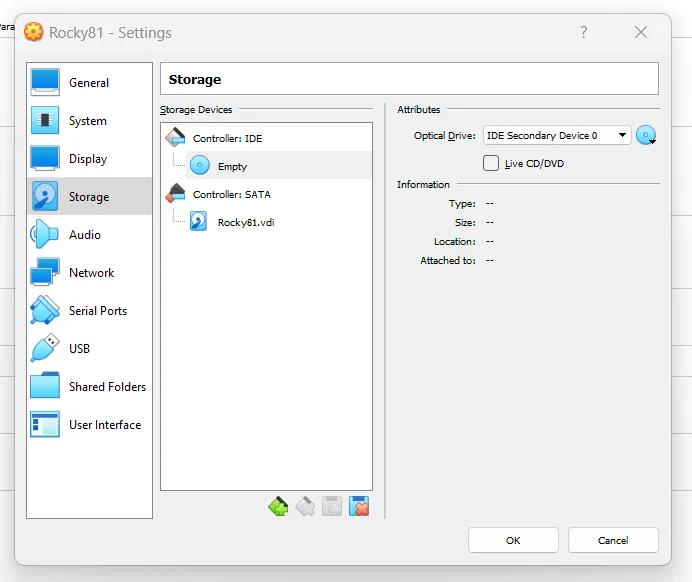
Again go to the storage and then select on optical driver option. Now, select the Rocky Linux 8 ISO image.
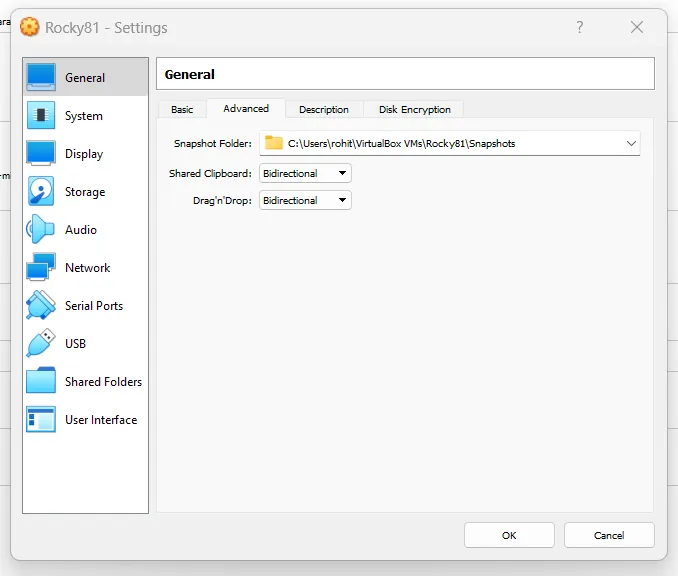
You can also make the general configuration bidirectional, it comes in handy post-installation.
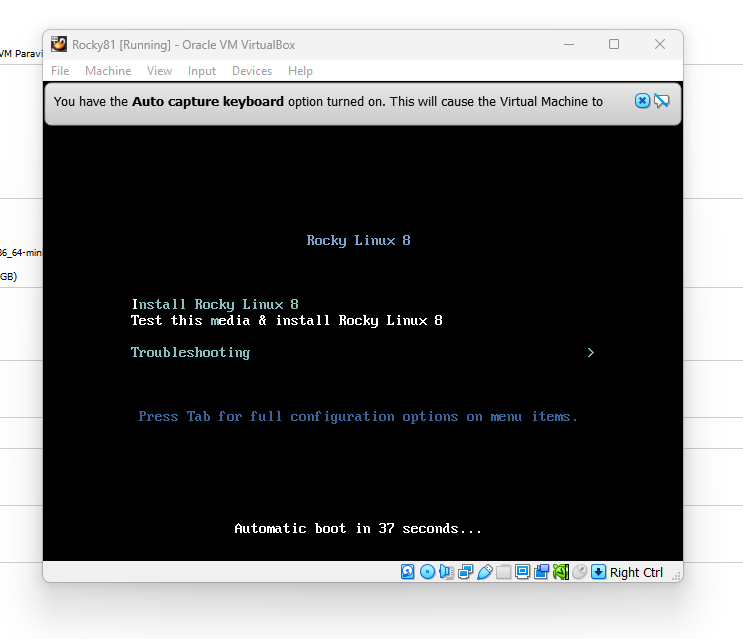
After saving the configuration, you can click on the start button that will launch the virtual machine and load the Rocky Linux 8 iso image for installation. Select the Install Rocky Linux 8 option from the boot screen.
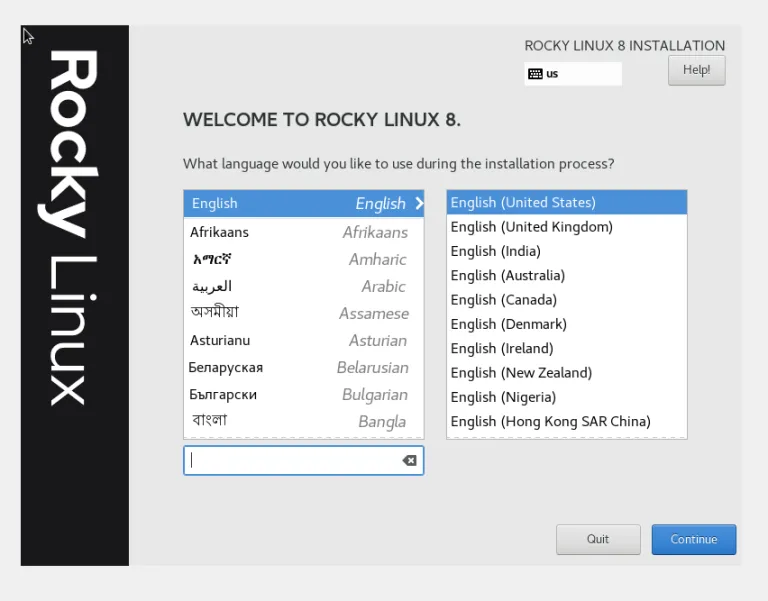
Select your prefer language –
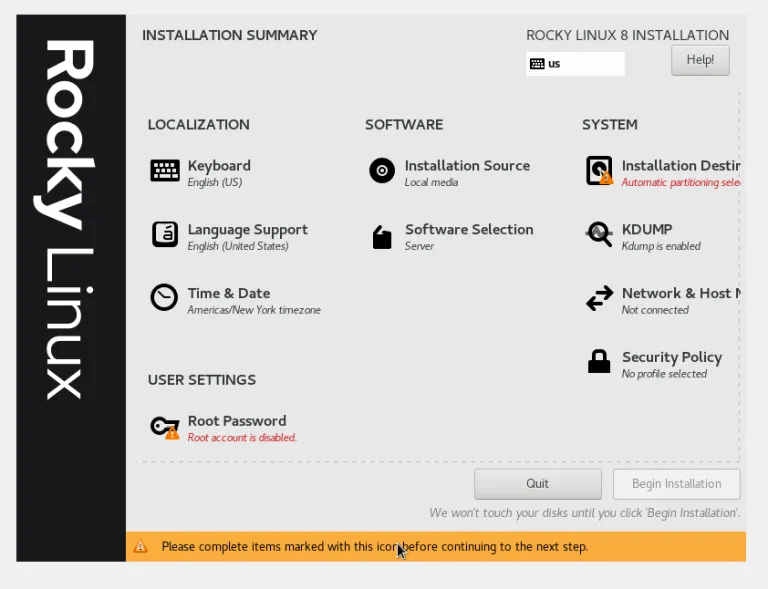
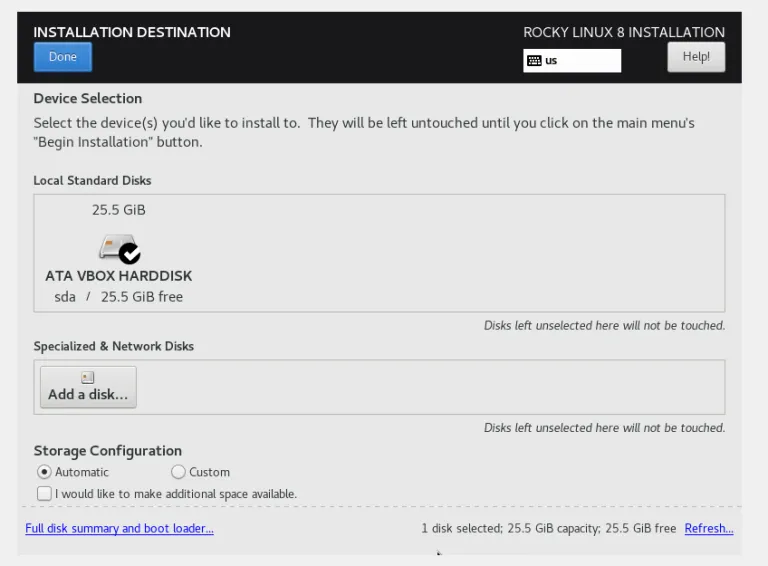
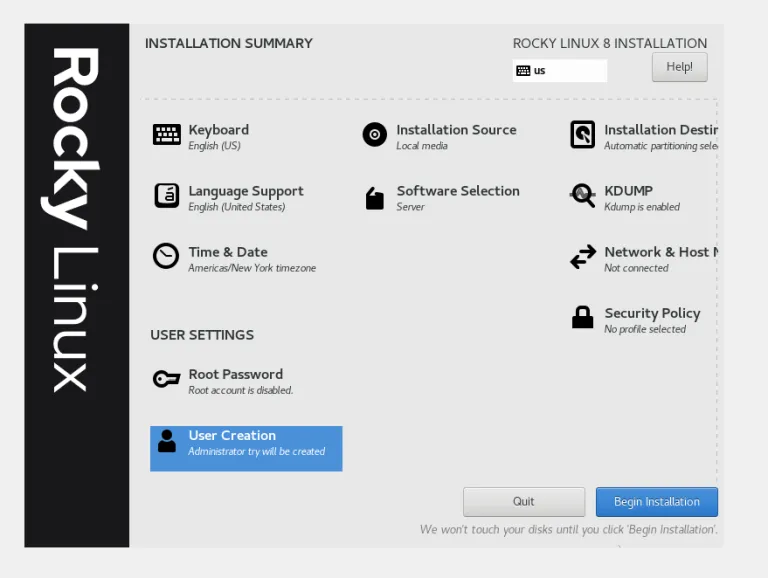
Click on the installation destination and by default, it would select the disk you attached in the previous step. Once you are sure the disk is selected you can press on done to continue. It should also remove the warning sign on the “Installation Destination”
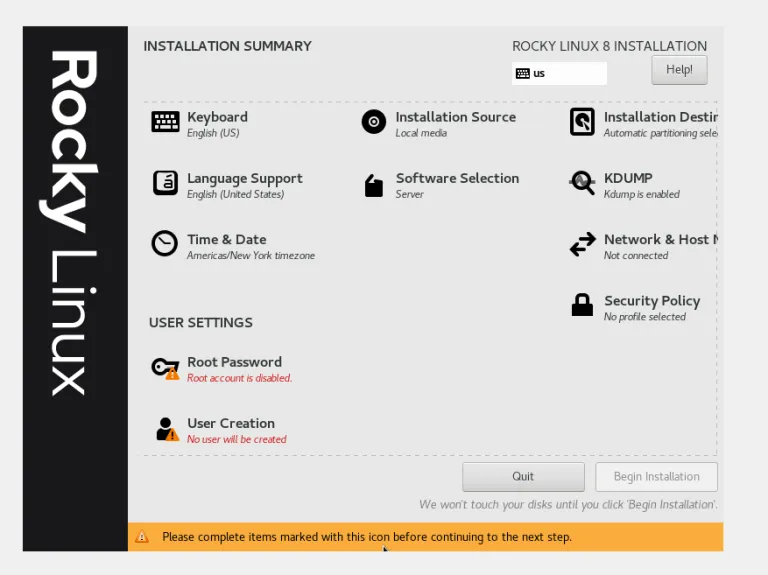
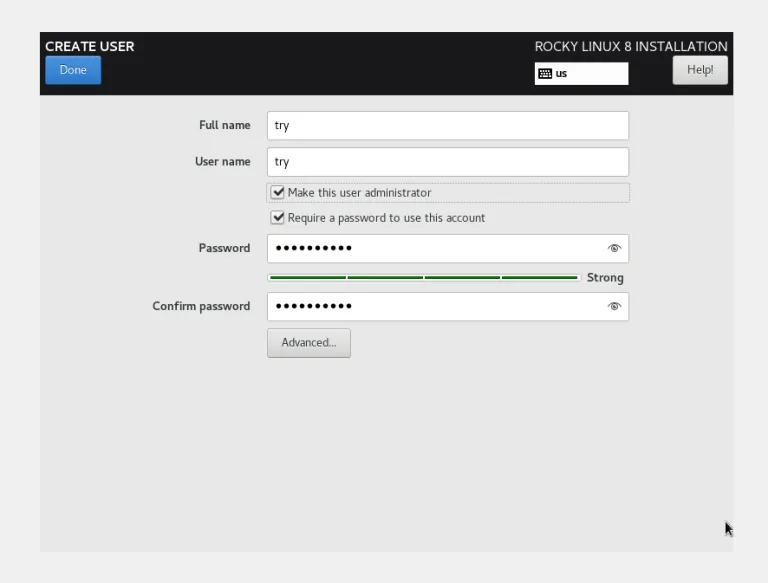
Now, it’s time to create a user. Click on user creation and create the user name and add the password for the user. Also, make sure, you check box the “Make this user administration” This is to disable the root account. If you want a root user then you will have to add the password for it. Once the configuration is done press Begin Installation.
Once installation is done press “Reboot System” and your Rocky 8 should start and bring the login screen.